The first time I made Peach Cobbler Cheesecake Cones, it was a last-minute idea for a backyard BBQ, and I ran out in under ten minutes flat. Now it's the recipe my neighbors text me about every single summer. The best part? You don't need to turn on your oven for the cheesecake part, which makes the whole thing so much easier to pull together than it looks.

If you love easy, crowd-pleasing desserts, you might also enjoy my Creamy Coconut Rice Pudding for a rich, no-fuss treat, or these dreamy Strawberry Cheesecake Cinnamon Rolls that disappear just as fast. And if you're in a fruit-and-cream kind of mood, my Chocolate-Covered Strawberry Yogurt Clusters are always a hit too.
Why You'll Love This Recipe
These Peach Cobbler Cheesecake Cones are the kind of dessert that feels special without being complicated. Here's why they're worth making every summer:
- The peach cobbler filling is warm, spiced, and deeply fruity, just like the classic.
- The no-bake cheesecake layer is light, creamy, and perfectly sweet.
- The chocolate-lined waffle cone adds a satisfying crunch that ties everything together.
- You can go traditional or keep it low-carb with simple swaps.
- They're easy to customize with toppings like crushed graham crackers or mini chocolate chips.
- Perfect for BBQs, potlucks, birthday parties, or a quiet dessert at home.
Jump to:
Ingredients You'll Need
Here's everything that goes into these Peach Cobbler Cheesecake Cones, broken down by section so it's easy to follow.
For the Peach Cobbler Filling:
- 1 pound peaches, sliced into wedges: Fresh, ripe peaches give the best flavor and texture. The slices soften beautifully as they cook.
- 3 tablespoon Golden Monk Fruit sweetener: Adds sweetness without the sugar spike. Regular granulated sugar works too if you prefer.
- 2 teaspoon lemon juice: Brightens the peach flavor and keeps things from tasting flat.
- 1 teaspoon cinnamon: Brings that classic cobbler warmth.
- ¼ teaspoon xanthan gum: Thickens the filling slightly so it holds up nicely inside the cone.
For the Low Carb Cobbler Topping:
- 1 cup low carb baking mix: The base of the topping that keeps things light and crisp.
- 3 tablespoon Golden Monk Fruit sweetener: Sweetens the topping without going overboard.
- ¼ teaspoon kosher salt: Balances all the sweetness in the mix.
- 1 teaspoon baking soda: Helps the topping puff up just right.
- 1 teaspoon ground cinnamon and ¼ teaspoon ground nutmeg: The spice combination that makes peach cobbler taste like home.
- 1 cup milk: Brings the topping batter together.
For the Traditional Cobbler Topping (Optional):
- 1 cup all-purpose flour: The classic base for a buttery, crumbly topping.
- ½ cup dark brown sugar: Adds deep, caramel-like sweetness.
- ½ teaspoon cinnamon and ⅛ teaspoon nutmeg: Warm spices for that traditional cobbler flavor.
- 8 tablespoon salted butter: Creates those golden, crisp crumbles on top.
For the No-Bake Cheesecake Filling:
- 1 (8 oz) cream cheese, room temperature: The rich, tangy base of the filling. Room temperature is important so it blends smooth without lumps.
- ⅓ cup confectioner sugar: Sweetens the filling gently. Use Swerve for a sugar-free version.
- 1 teaspoon fresh lemon juice: Adds a subtle brightness that makes the cheesecake taste fresher.
- 1 teaspoon vanilla extract: Rounds out the flavor with warmth.
- 1 cup heavy whipping cream: Whipped into the base to create that light, mousse-like texture.
For the Cones:
- 4-6 waffle or sugar cones: Waffle cones give the best crunch and hold up well to the filling.
- 1 cup white chocolate chips: Melted and spread inside the cones to seal them and add a sweet, creamy layer.
See recipe card for quantities.
How to Make Peach Cobbler Cheesecake Cones
Short intro: Follow these steps and you'll have beautiful, layered Peach Cobbler Cheesecake Cones ready to serve in under an hour.
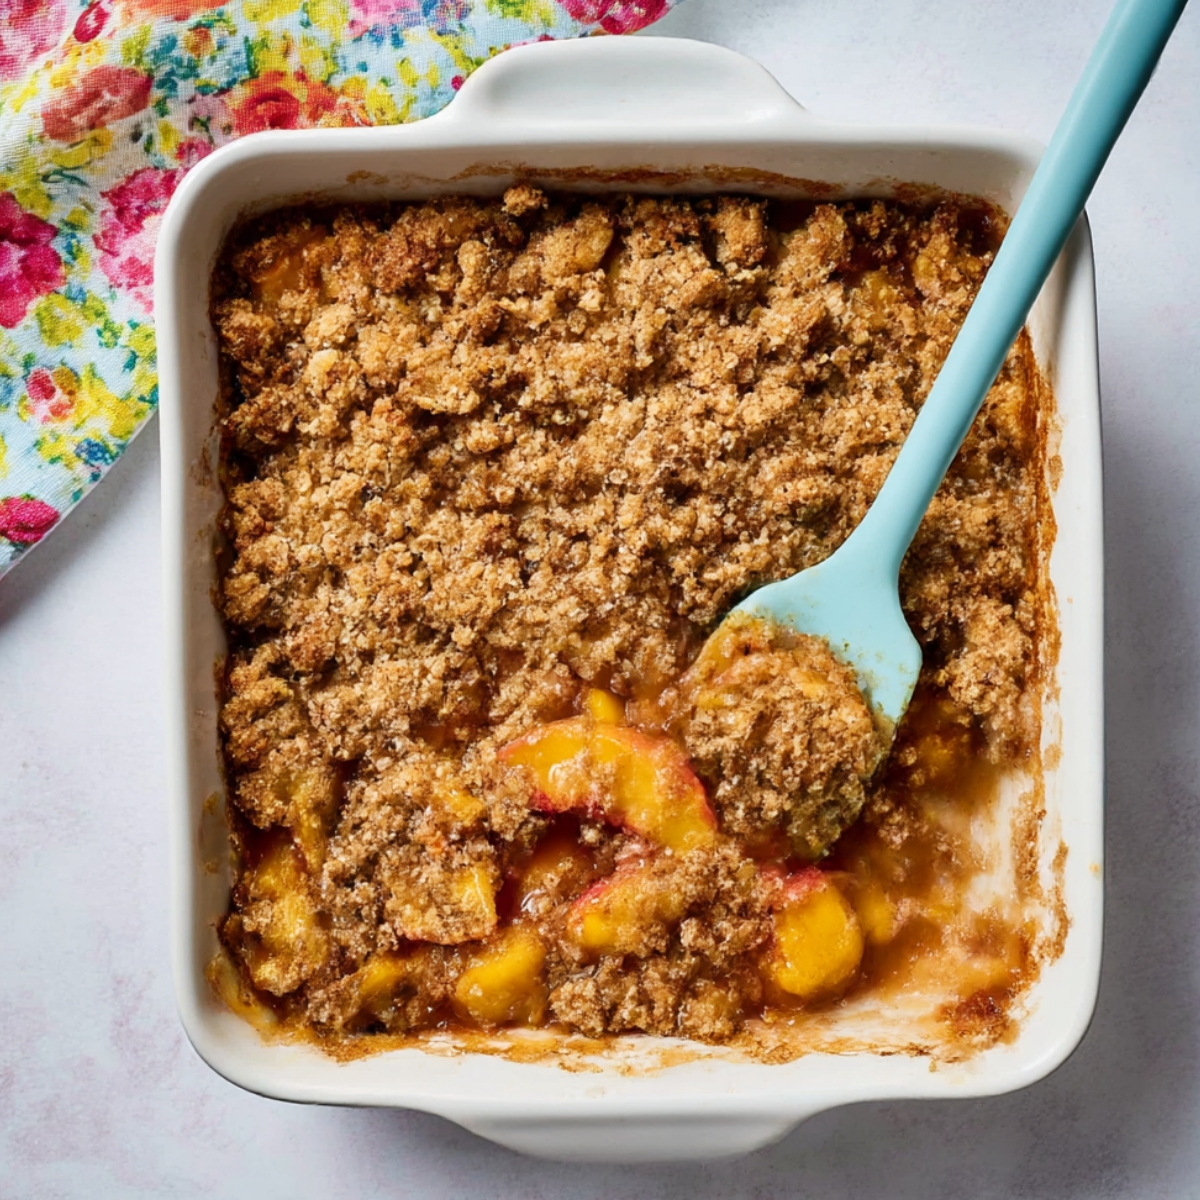
Prepare the peach cobbler: Make your peach cobbler using either the keto or traditional topping, whichever you prefer. Cook the peach filling with the sweetener, lemon juice, cinnamon, and xanthan gum until the peaches soften and the mixture thickens. Prepare and bake your topping according to your chosen method, then set the whole cobbler aside to cool while you work on the cheesecake filling.
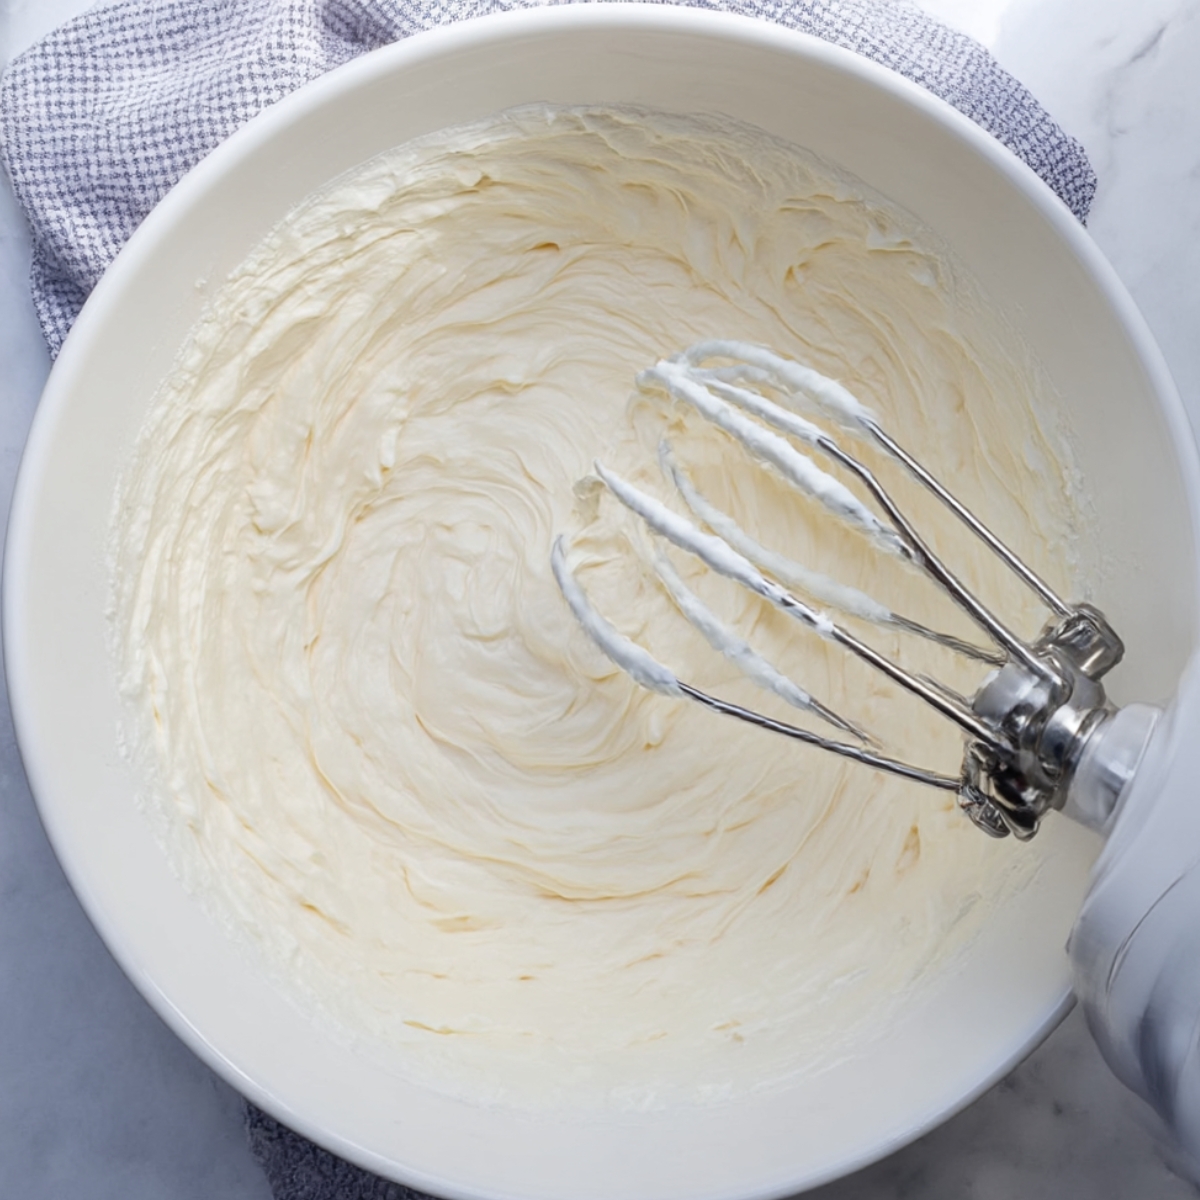
Make the no-bake cheesecake filling: In a large bowl, beat the room-temperature cream cheese with the confectioner sugar until the mixture is light and fluffy with no lumps. Add the vanilla extract and lemon juice and mix until combined. With the mixer on low-medium speed, slowly pour in the heavy whipping cream. Once incorporated, increase the speed to medium-high and whip until stiff peaks form. The filling should look thick, creamy, and hold its shape. Transfer it into a piping bag and refrigerate until you're ready to assemble.
Prepare the waffle cones: Melt the white chocolate chips in a microwave-safe bowl, stirring every 30 seconds until completely smooth. You can also use a double boiler if you prefer. Let the chocolate cool just slightly, then transfer it to a piping bag. Pipe a layer of chocolate into the inside of each cone and use a spoon or pastry brush to spread it evenly along the walls. Stand the cones upright on a parchment-lined baking sheet and let the chocolate harden completely before filling.
Assemble the cones: Once the chocolate has set, pipe 2-3 tablespoons of cheesecake filling into the bottom of each cone. Spoon 3-4 tablespoons of peach cobbler on top of the cheesecake layer. Repeat with another layer of cheesecake filling and peach cobbler until the cone is nicely filled and mounded at the top. Drizzle extra white chocolate over the top, or finish with crushed graham crackers, chopped nuts, or mini chocolate chips. Chill briefly if needed, then serve right away.
Easy Substitutions
Peaches: Frozen peaches work great when fresh aren't in season. Just thaw and pat them dry before cooking. Canned peaches in juice are fine too, but drain them well.
Sweetener: Swap Golden Monk Fruit for regular granulated sugar in the cobbler or regular powdered sugar in the cheesecake filling if you're not watching carbs.
Cones: Sugar cones are a great alternative to waffle cones. For a gluten-free version, look for gluten-free waffle cones at most grocery stores.
White chocolate: Milk or dark chocolate work just as well for lining the cones and add a fun flavor twist.
Cream cheese: Full-fat gives the best texture, but reduced-fat cream cheese will still work in a pinch.
Equipment You'll Need
- Measuring cups and spoons
- Large mixing bowl
- Hand mixer or stand mixer
- Piping bags (or a zip-top bag with the corner snipped off)
- Spoon or pastry brush
- Microwave-safe bowl or double boiler
- Baking sheet lined with parchment paper
How to Store These Cones
Peach Cobbler Cheesecake Cones are best eaten fresh, right after assembling. The cones will start to soften once they've been filled, so if you're prepping ahead, keep all three components separate.
Store the cheesecake filling in a piping bag or covered bowl in the refrigerator for up to 3 days. The peach cobbler keeps well in an airtight container in the fridge for up to 4 days. The chocolate-lined cones can sit at room temperature in a cool, dry spot for 1-2 days. Assemble just before serving for the best crunch.
Expert Tips for Perfect Results
Assemble close to serving time. Even with the chocolate lining, filled cones start to soften after about 30 minutes. Make them fresh for the best texture.
Room temperature cream cheese is non-negotiable. Cold cream cheese will leave lumps in your filling no matter how long you mix it. Pull it out at least 30 minutes before you start.
Let the cobbler cool before assembling. Warm peach cobbler will melt your cheesecake filling instantly. Give it at least 15-20 minutes to come to room temperature.
Don't rush the chocolate lining. Make sure it's fully hardened before adding your filling. This step keeps the cone from getting soggy.
Whip until stiff peaks form. Under-whipped cheesecake filling will be too soft and slide right out of the cone. It should hold its shape firmly when piped.
FAQ
What is the secret ingredient in peach cobbler?
A good peach cobbler really comes down to warm spices and a little lemon juice. The cinnamon and nutmeg bring that classic depth, but a small splash of lemon juice brightens the peaches and keeps the filling from tasting heavy. Some home cooks also swear by a tiny pinch of cardamom for extra warmth.
What are the most common mistakes when making peach cobbler?
The biggest mistake is using underripe or watery peaches, which makes the filling too thin. Another common one is adding too much liquid to the topping batter, which keeps it from crisping up. For these cones, make sure your peach cobbler filling is thick enough to layer without dripping. That's where the xanthan gum really helps in the keto version.
Can peaches help lower cholesterol?
Peaches contain soluble fiber, which can support healthy cholesterol levels as part of a balanced diet. They're also naturally low in calories and packed with vitamins. That said, the other ingredients in this dessert mean it's still a treat, not a health food, but at least the peaches are doing some good work in there.
What's the secret to a juicy peach cobbler filling?
Ripe, in-season peaches make all the difference. If your peaches are very firm, let them sit on the counter for a day or two until they smell fragrant and give slightly when pressed. Tossing them with a little sugar and lemon juice before cooking draws out their natural juices and creates a saucy, deeply flavored filling.
Related
Looking for other recipes like this? Try these:


Pairing
These are my favorite dishes to serve with [this recipe]:


Summer Peach Cheesecake Cones
Ingredients
Equipment
Method
- Prepare the peach cobbler filling following your preferred low-carb or traditional method.
- In a large bowl, blend cream cheese with confectioner’s sugar until smooth and fluffy.
- Stir in vanilla extract and lemon juice until fully incorporated.
- Gradually add heavy whipping cream while mixing on low-medium speed, then increase to medium-high until firm peaks form.
- Transfer the cheesecake mixture into a piping bag and chill until ready to use.
- Melt white chocolate in a microwave-safe bowl, stirring every 30 seconds until smooth, or melt using a double boiler.
- Let chocolate cool slightly, then spoon or pipe a thin layer onto the inside of each cone. spread evenly with a pastry brush or spoon.
- Place chocolate-coated cones upright on a parchment-lined baking sheet and allow chocolate to harden.
- Pipe 2-3 tablespoons of cheesecake filling into each cone.
- Top with 3-4 tablespoons of peach cobbler, adjusting for cone size.
- Repeat layering with remaining cheesecake and peach filling as desired.
- Drizzle additional melted chocolate over the tops of the cones or sprinkle with crushed nuts, graham crackers, or mini chips. Chill briefly to set.
- Serve immediately or store in the refrigerator for up to 3 days.

Leave a Reply