
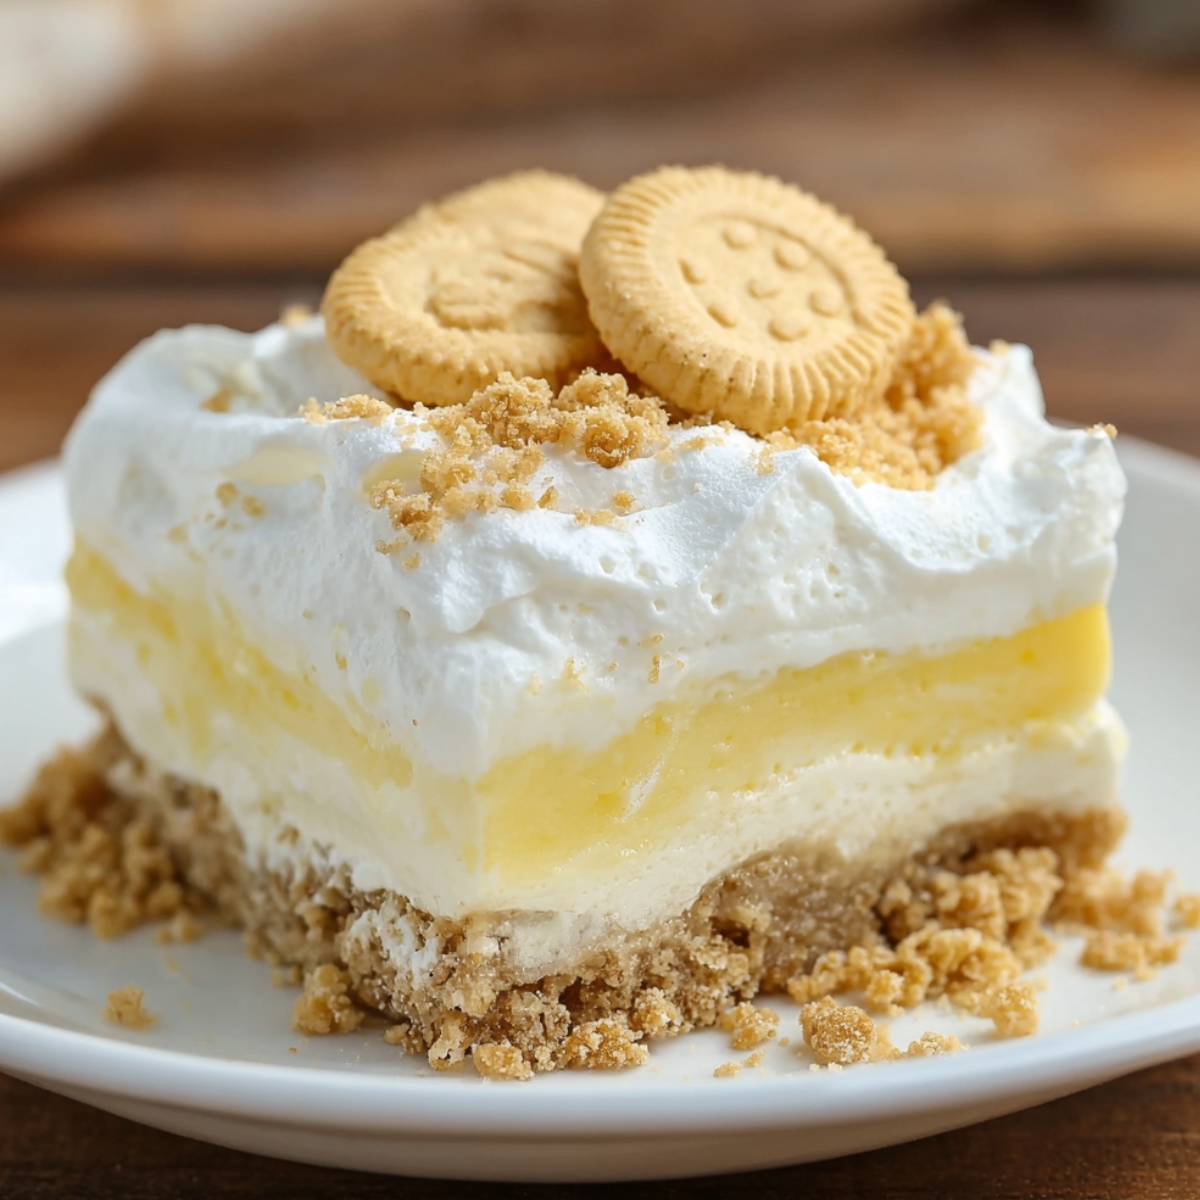
This Vanilla Lush Pie is the kind of dessert that disappears before you even grab a second slice. A buttery golden Oreo crust on the bottom, a thick cream cheese layer, smooth French vanilla pudding in the middle, and a cloud of whipped cream on top. Every single bite hits a different texture, and honestly, that's what keeps people coming back for more.
I first made this vanilla lush the summer my sister Olivia dared me to bring "something impressive" to a backyard cookout. I didn't want to fuss with the oven in July heat, so I threw this together in about 20 minutes and tossed it in the fridge. By the time we got there, it had set up beautifully, and Olivia ate three slices without saying a word — which, if you know Olivia, is basically the highest compliment she's ever given anything. The best part? You probably already have most of these ingredients sitting in your kitchen.
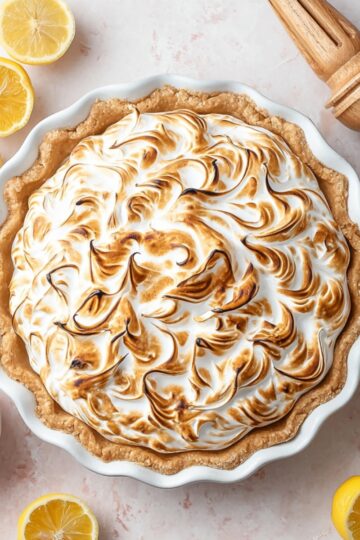
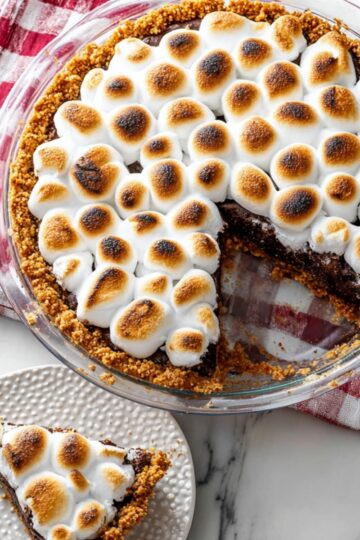
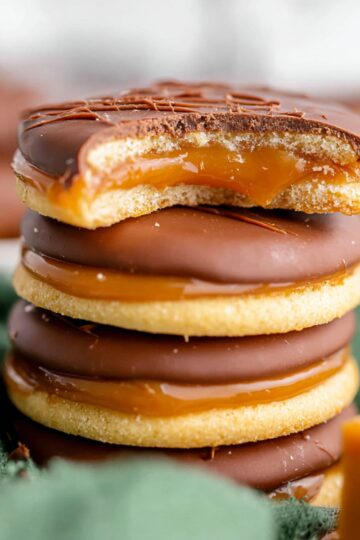
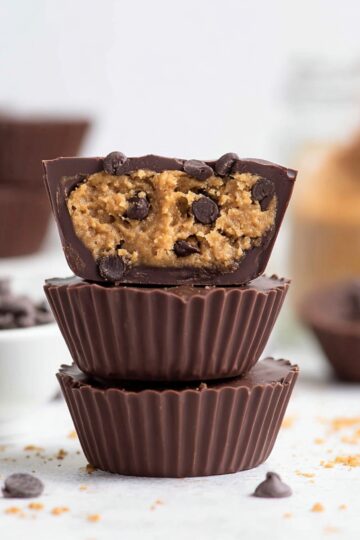
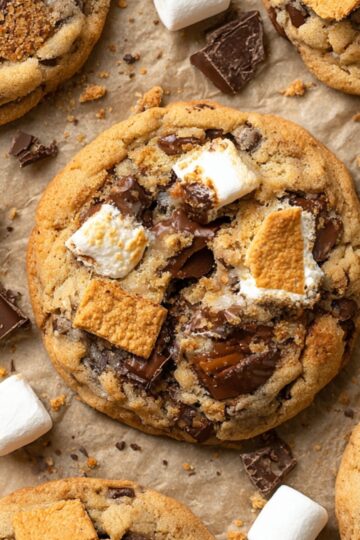
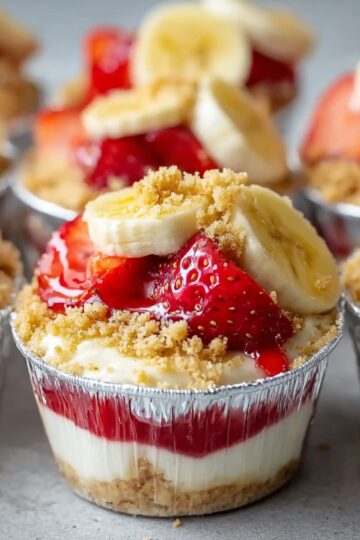
If you love easy no-bake desserts like this, you'll also want to check out this Mango Curd Tart with Coconut Crust for a tropical twist, these Twix Cookies – The Homemade Candy Bar Cookie You'll Make on Repeat when you need something cookie-based and indulgent, or these Vegan Chocolate Chip Cookie Dough Cups for a crowd-friendly bite-size option. And if you're building a dessert table, the S'mores Cookies Recipe and Strawberry Cheesecake Banana Pudding Recipe belong right next to this vanilla lush.
Why You'll Love This Vanilla Lush Pie
This vanilla lush hits every note a great no-bake dessert should. Here's why it works so well every single time:
- No oven needed. The whole thing comes together with simple mixing and chilling. Perfect for warm weather or when you just don't want to deal with the heat.
- Layers that actually hold. The cream cheese layer acts as a sturdy base that keeps the pudding from sliding around. Every slice comes out clean and beautiful.
- Customizable from top to bottom. Swap the pudding flavor, add fruit between the layers, or drizzle caramel on top. This vanilla lush plays well with almost any variation.
- Feeds a crowd. A 7×10-inch dish gives you 10 generous slices, making this vanilla lush one of the easiest party desserts you'll ever make.
- Kid-approved and adult-loved. The flavors are classic and familiar. Nobody walks away from vanilla lush complaining.
Jump to:
Ingredients for Vanilla Lush Pie
Here's everything you'll need, plus a quick note on what each ingredient brings to this vanilla lush:
Golden Oreo vanilla cookie sandwiches (14 ounces, reserve 1 cup for topping): These form the buttery, slightly sweet crust and the crunchy topping. They crush easily and soak up the butter beautifully. Keeping some chunks in the crumbs adds a nice texture contrast.
Butter, melted (8 tbsp): Binds the crust together and gives it that rich, slightly toasty flavor once it chills. Make sure it's fully melted so it coats every crumb evenly.
French vanilla pudding mix (5.1 ounces box): This is the heart of the vanilla lush. It sets up thick and creamy and delivers that deep vanilla flavor that ties every layer together.
Milk (2½ cups): Activates the pudding mix and creates that silky, spoonable consistency. Whole milk gives the richest result, but any milk works.
Cream cheese, room temperature (16 ounces): Creates a dense, tangy layer that contrasts perfectly with the sweet pudding above it. Room temperature is non-negotiable here — cold cream cheese will leave lumps.
Powdered sugar (2 cups): Sweetens the cream cheese layer and helps it whip up smooth and spreadable.
Vanilla extract (2 tsp): Deepens the vanilla flavor in the cream cheese layer and makes the whole vanilla lush smell incredible.
Whipped cream topping (8 ounces): The light, airy finish that makes every bite feel indulgent without being heavy. Store-bought works perfectly, or you can make your own with heavy cream.
See recipe card for quantities.
How to Make Vanilla Lush Pie
Gather your dish, your mixing bowls, and about 20 minutes. That's really all this vanilla lush asks of you.
Prepare the crust: Crush your golden Oreos into fine crumbs using a food processor or a rolling pin and zip-lock bag. Aim for mostly fine crumbs with a few slightly larger pieces for texture.
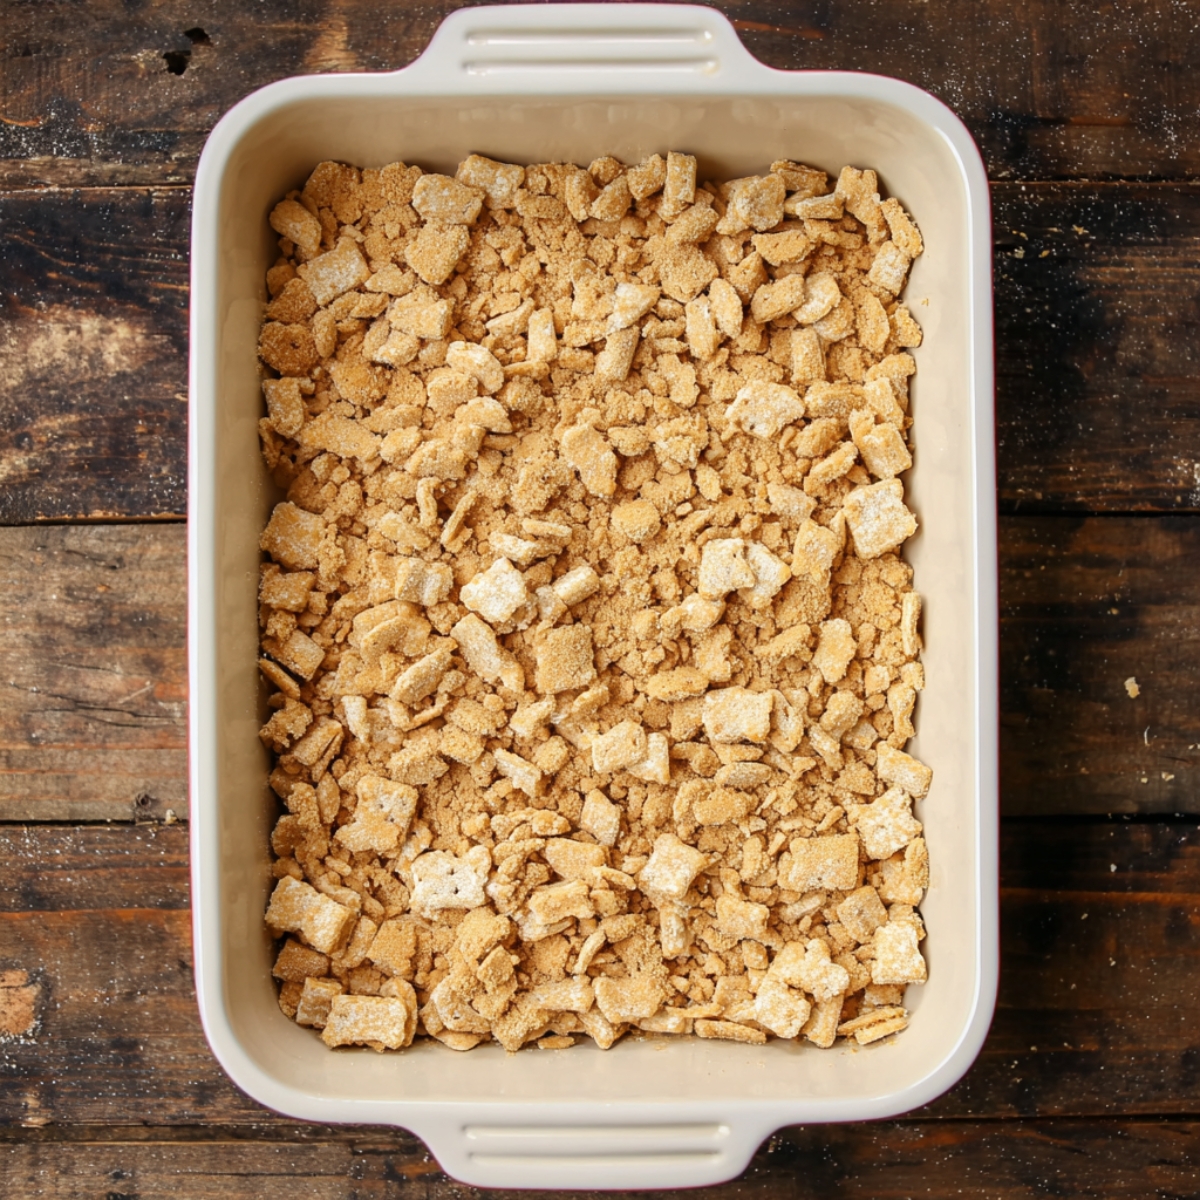
Mix the crust: Combine the crushed Oreos with melted butter directly in your 7×10 casserole dish, stirring until everything looks like damp, golden sand.
Form the crust layer: Press the mixture firmly and evenly across the bottom of the dish. Use the back of a measuring cup to get it nice and flat. Set aside.
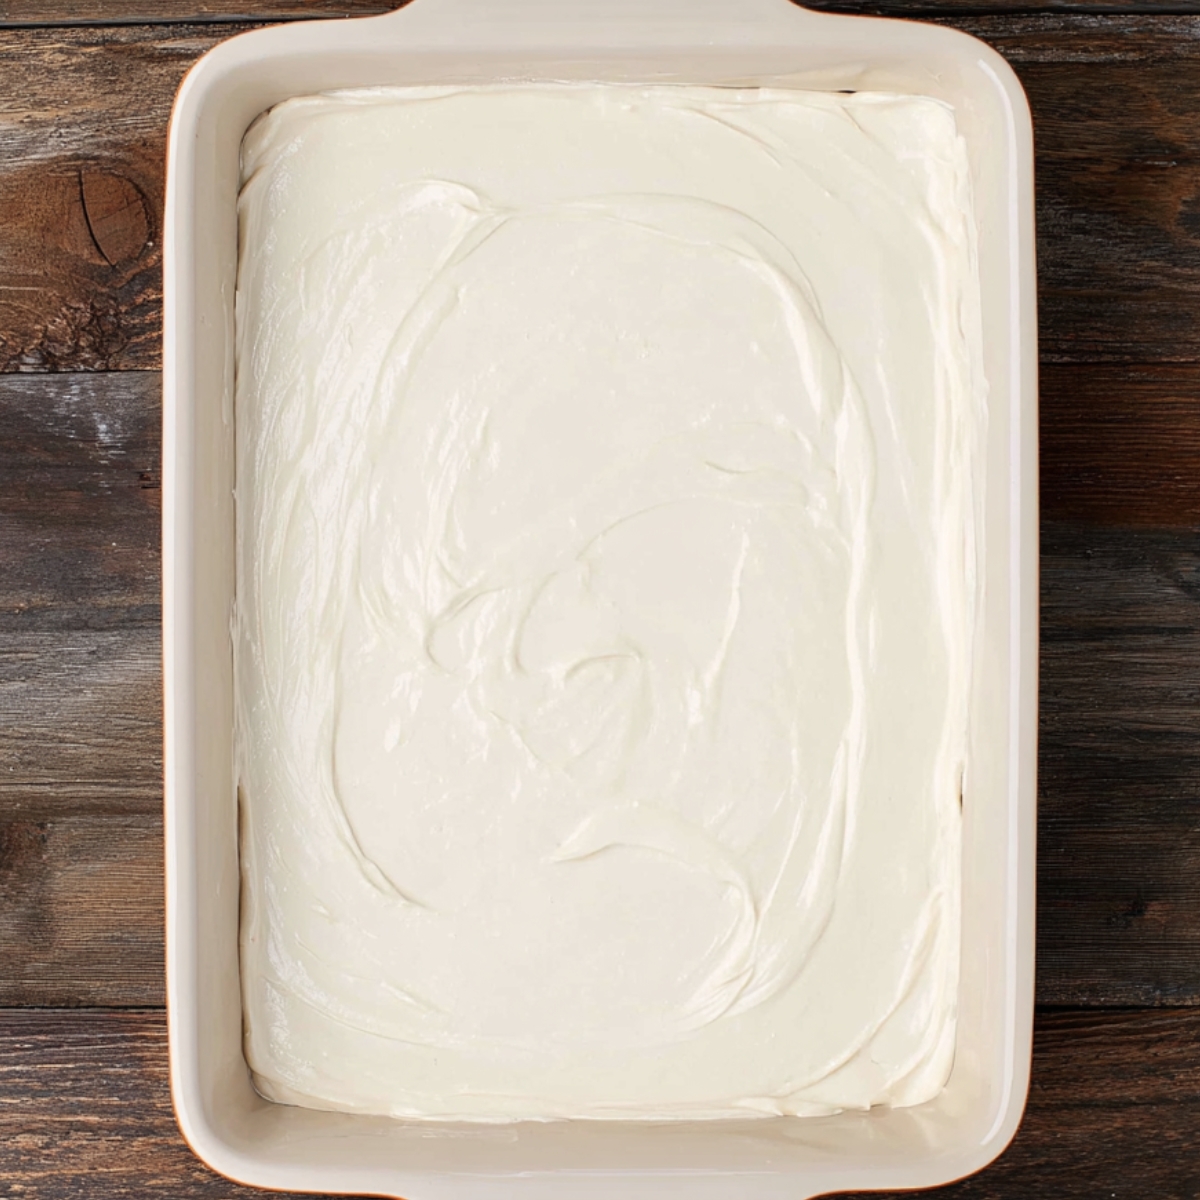
Cream cheese layer: In a mixing bowl, beat together the room-temperature cream cheese, powdered sugar, and vanilla extract until completely smooth and fluffy — no lumps. Spread it carefully and evenly over the Oreo crust. Take your time here so the layers stay distinct.
Pudding layer: In a separate bowl, whisk the French vanilla pudding mix together with the milk for about 2 minutes until it thickens. If you're using dairy-free milk, a hand mixer can help you get a smooth result. Spread the pudding gently over the cream cheese layer, working from the center outward.
Whipped cream layer: Spread the whipped cream topping evenly across the pudding layer. A light hand here keeps things fluffy and airy.
Add the topping: Sprinkle the reserved cup of crushed Oreo crumbs across the top. This adds crunch, visual contrast, and makes the vanilla lush look bakery-worthy.
Chill: Cover the dish and refrigerate for at least 2 hours. This step is what turns it from "assembled layers" into an actual set, sliceable vanilla lush pie.
Serve: Slice into squares and enjoy. Watch it disappear.
Substitutions and Variations
This vanilla lush is incredibly forgiving. A few easy swaps:
Gluten-free crust: Swap in gluten-free sandwich cookies for an easy allergy-friendly version.
Pudding swap: Regular vanilla or white chocolate pudding both work beautifully in place of French vanilla.
Fruit layers: Sliced bananas, fresh strawberries, or blueberries tucked between the cream cheese and pudding layers add a fruity brightness.
Homemade whipped cream: Whip heavy cream with a little powdered sugar and vanilla for a fresher, richer topping on your vanilla lush.
Extra indulgence: A drizzle of chocolate or caramel sauce right before serving makes this vanilla lush feel like something from a restaurant menu.
Equipment You'll Need
Hand mixer (optional, helpful for dairy-free milk)
7×10 casserole dish
Mixing bowls
Food processor or rolling pin
Measuring cups and spoons
Storage Tips
Store leftover vanilla lush covered tightly in the refrigerator for up to 4 days. The crust will soften slightly as it sits, but the flavors actually get better by day two. This vanilla lush does not freeze well — the cream cheese layer becomes grainy and the whipped cream loses its texture after thawing.
Expert Tips for the Best Vanilla Lush
Soften your cream cheese. This is the most important step. Cold cream cheese will not blend smoothly, and lumps in the cream cheese layer will affect every bite. Set it out at least 30 minutes before you start.
Don't skip the chill time. Two hours is the minimum for this vanilla lush to fully set. If you can make it the night before, even better — overnight chilling gives you the cleanest slices and the best texture.
Press the crust firmly. A loose crust will crumble when you slice the vanilla lush. Use firm, even pressure and make sure every corner is packed down.
Spread gently. When adding the pudding layer over the cream cheese, use a light hand so the layers don't mix together. Start from the center and work outward in slow, even strokes.
Reserve those crumbs. Don't skip the Oreo crumb topping. It adds the crunch that makes the texture of this vanilla lush so satisfying.
FAQ
What is cake batter lush?
Cake batter lush is a layered no-bake dessert similar to vanilla lush, but it uses cake batter-flavored pudding mix in the pudding layer for a sweeter, more confetti-cake flavor. The structure is the same — crust, cream cheese, pudding, whipped topping — but the taste is more birthday-cake forward. It's a fun variation if you love the vanilla lush concept but want something a little more playful.
What are some vanilla desserts?
Vanilla desserts range from classic vanilla pudding pie and vanilla lush to vanilla bean cheesecake, panna cotta, vanilla layer cake, and no-bake icebox cakes. Vanilla lush sits at the easy end of the spectrum — no baking, no gelatin, just layers and a refrigerator. It's one of the most approachable vanilla desserts you can make for a group.
What makes lush cake unique?
Lush cake, or lush dessert, is unique because of its distinct layers — each one with a different texture and flavor profile. A vanilla lush has crunch from the crust, tang from the cream cheese, creaminess from the pudding, and airiness from the whipped topping. You get four different experiences in one bite, which is what makes lush desserts so addictive and crowd-pleasing.
Is vanilla custard the same as vanilla pudding?
Not quite. Vanilla custard is made with eggs and cooked on the stovetop, giving it a richer, silkier texture. Vanilla pudding, especially the instant kind used in this vanilla lush, is made with milk and a starch-based mix that thickens without heat. Pudding is faster and easier to work with in no-bake recipes like vanilla lush, which is why it's the go-to choice here.
Related
Looking for other recipes like this? Try these:

Pairing
These are my favorite dishes to serve with [this recipe]:
Creamy Vanilla Layered Pie
Ingredients
Equipment
Method
- Break the golden sandwich cookies into fine crumbs using a food processor or rolling pin.
- Combine the crushed cookies with melted butter in your casserole dish.
- Press the cookie mixture firmly into the base of the dish to form an even crust.
- Whip together cream cheese, powdered sugar, and vanilla extract in a mixing bowl until smooth.
- Spread the cream cheese mixture evenly over the cookie crust.
- In a separate bowl, whisk French vanilla pudding mix with milk until thick and smooth, using a hand mixer if needed for non-dairy milk.
- Pour the pudding over the cream cheese layer and smooth it evenly.
- Spread the whipped cream topping across the pudding layer in an even layer.
- Sprinkle the reserved cookie crumbs over the whipped cream for a decorative finish.
- Refrigerate the pie for at least 2 hours to allow it to set and chill completely.
- Slice into portions and serve cold.

Leave a Reply